Larry在甲骨文Oracle OpenWorld 2019上大笔一挥,推出了终身免费的Oracle Cloud试用。虽然没办法跟Oracle的律师计较always free能维持多久,可以看得见的是羊毛还是值得一薅的。
免费注册

注册步骤不复述了,网上有很多教程,一步一步填写就行了。
注册的过程中可能会遇到的问题,如收不到手机验证码,可能是以前注册过只能换手机试试了;信用卡审核不过,可以淘宝买visa或者master的1美元礼品卡注册一下。
- 登陆地址
Oracle Cloud的控制台最近应该是被墙了,现在要访问的话要自备梯子,也许过段时间就好了。
控制台URL:
韩国区 https://console.ap-seoul-1.oraclecloud.com/
东京区 https://console.ap-tokyo-1.oraclecloud.com
控制台登陆界面: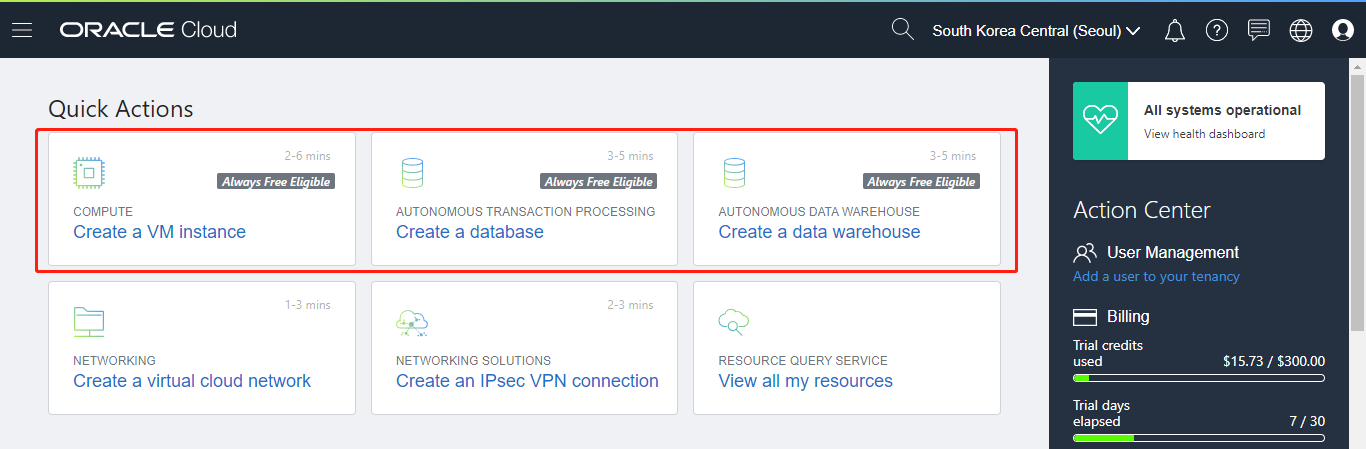
登陆后可以看到,VPS虚机,自治数据库,数据仓库都有终生免费的功能可以使用,还是很值得个人学习折腾折腾的。
##Compute Instance VPS功能使用
在Compute / Instance 界面可以轻松创建各种虚机的实例Instance。
如果打算长期使用的话,配置估计要选最低的。不过现在反正有Larry给的300刀,选个几十核几十G内存的试试也未尝不可。
操作系统可以选Window、Oracle Linux、 Ubuntu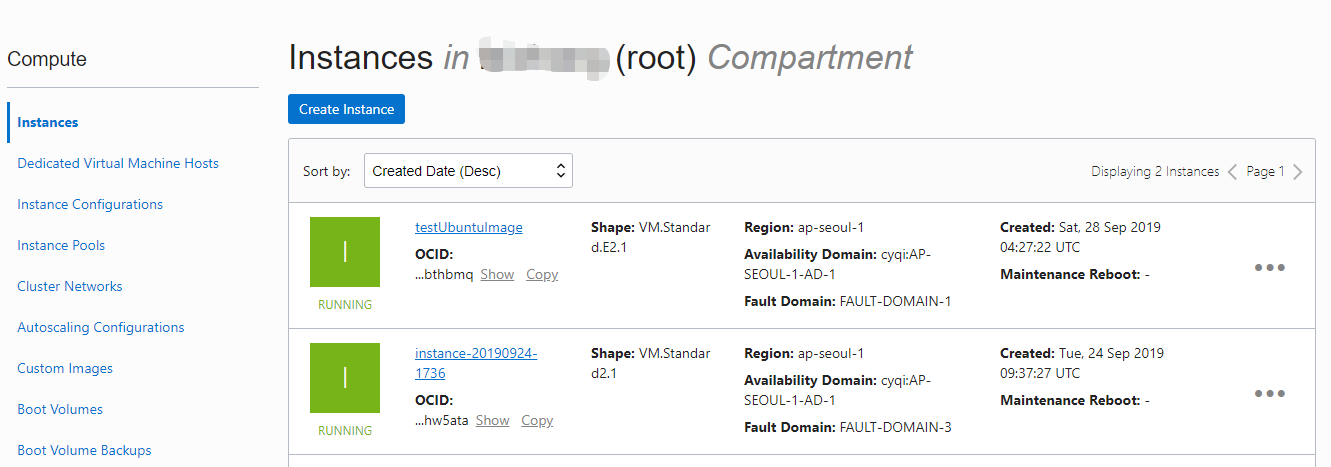
我这里就做了个Ubuntu虚机,安装配置完成之后可以保存为自己定义的镜像模板,只要资源允许以后无限复制使用都可以。
Instance IP配置
创建的实例,要勾选分配公网IP,这样才能正常通过公网访问。 VCN的私网IP是虚拟机内网使用的,VCN后面的网络配置能控制这两者之间的映射和过滤规则。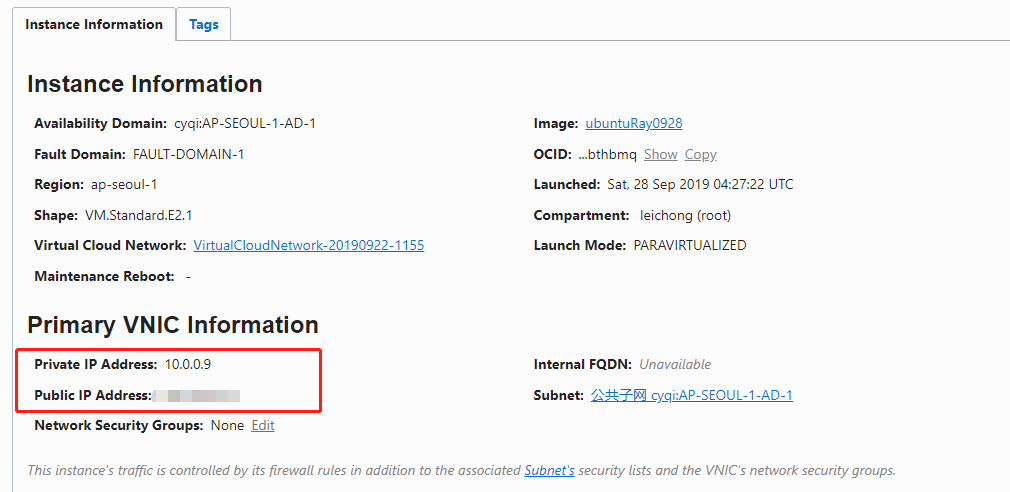
VCN及安全规则配置
VCN Virtual Cloud Networks 从名字能猜出它管理这Oracle Cloud的虚拟网络及防火墙规则。从Internet外网对Oracle云内部的访问,需要经过VCN的路由才能通,同时Oracle Cloud内部的网络也在VCN中定义及管理。
新建虚机实例的时候,会创建一个默认VCN配置。着点很好理解,如果系统不自动创建,新建的实例可定时不能访问的,那就比较不友好了。
根据Oracle Cloud的文档,在默认VCN的管理下,Linux实例可以直接通过22端口SSH上去管理,window实例需要手工添加一条映射的安全规则才能远程桌面。
就是这个默认的安全规则Security Lists了,个人用的话改改这个就基本上够用了
第一条是默认带过来的,允许22端口ssh, 请忽略第2、3、4条,比较偷懒的允许所有协议访问。大家自己用的时候千万别学这样,自己加需要的协议和端口就好了。
Ubuntu防火前设置
如果设置了允许所有规则,依然无法访问虚机,比如ssh正常但是开启tomcat,但是默认的8080网页访问不了,那估计是linux自己的防火墙拦住了。
关闭系统防火前及iptable限制试试。1
2
3
4
5
6
7
8
9
10
11
12
13
14
15
16
17
18
19
20
21#停止firewall
systemctl stop firewalld.service
#禁止firewall开机启动
systemctl disable firewalld.service
#关闭iptables
service iptables stop
#去掉iptables开机启动
chkconfig iptables off
#开放所有端口
sudo iptables -P INPUT ACCEPT
sudo iptables -P FORWARD ACCEPT
sudo iptables -P OUTPUT ACCEPT
sudo iptables -F
#Oracle自带的Ubuntu镜像默认设置了Iptable规则,关闭它
apt-get purge netfilter-persistent
reboot
#强制删除
rm -rf /etc/iptables && reboot
登陆用户设置
登录到云服务器,直接使用命令sudo -i 就可以切换到root权限,如果你想要使用root登录,请使用以下命令(密码是zzPasspword,你可以替换为其它的):
修改成允许root登陆,允许root密码登陆,修改root登陆密码
1 | echo root:zzPasspword |sudo chpasswd root |
如果你想要开机就使用root登录,可以使用以下命令(密码是zzPasspword,你可以替换为其它的):1
2
3
4
5
6
7
8#编辑cloud.cfg
vim /etc/cloud/cloud.cfg
#在最后加入以下代码
echo root:zzPasspword |sudo chpasswd root
sudo sed -i 's/^#\?PermitRootLogin.*/PermitRootLogin yes/g' /etc/ssh/sshd_config;
sudo sed -i 's/^#\?PasswordAuthentication.*/PasswordAuthentication yes/g' /etc/ssh/sshd_config;
sudo service sshd restart
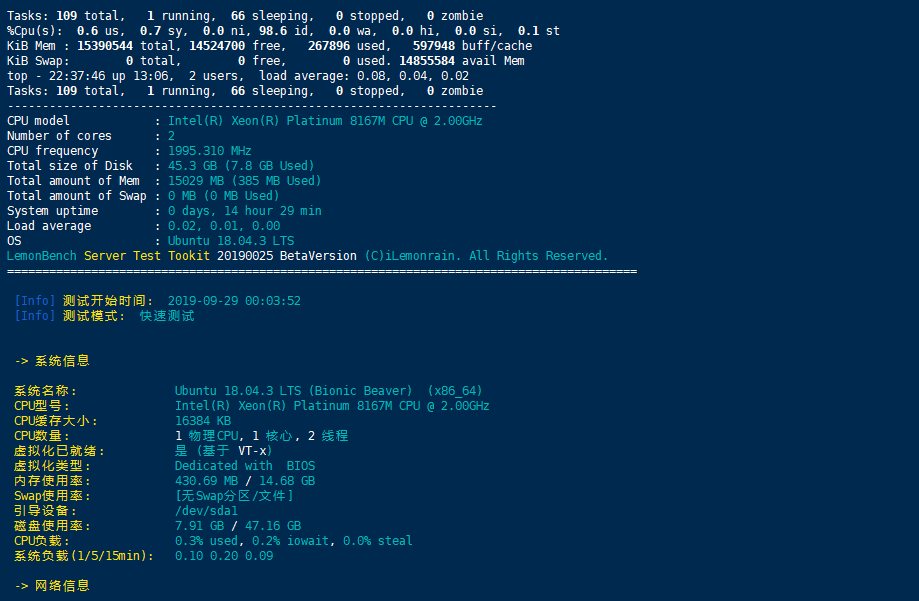
免费VPS性能评测
bench.sh
1 | #命令1: |

LemonBench
虚拟机使用
虚机和网络都配置好了,剩下就是用来做什么了。
相信很多人会用来做梯子,这个需求可以考虑 v2ray,配置还是比较方便的。
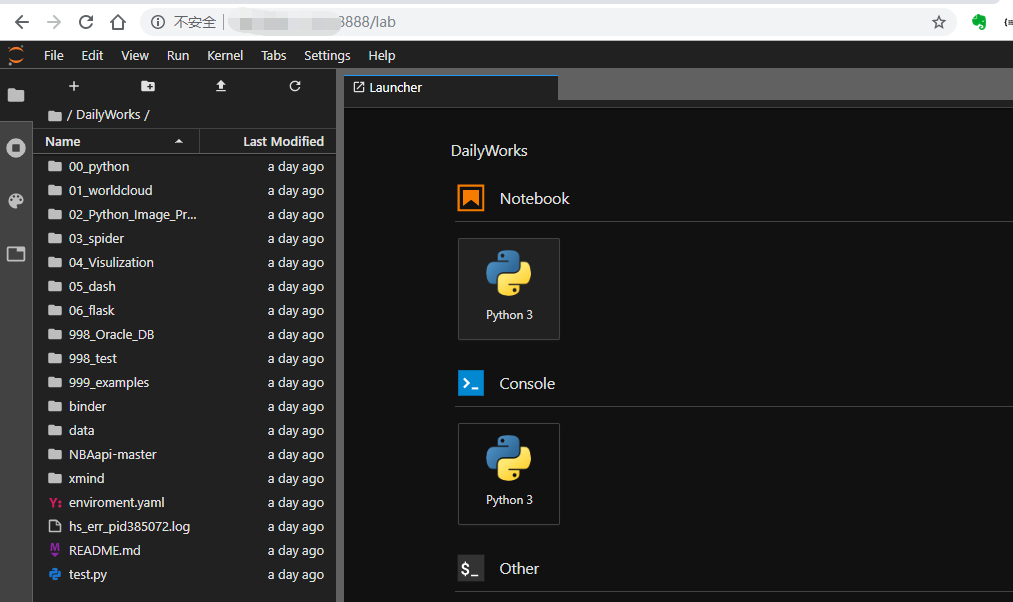
也可以用来做数据分析装上Anaconda 和Jupyterlab,公网可用,这是多么惬意啊。